How to make Apple Cider Vinegar at home- raw unpasteurized unfiltered
best recipe ever.
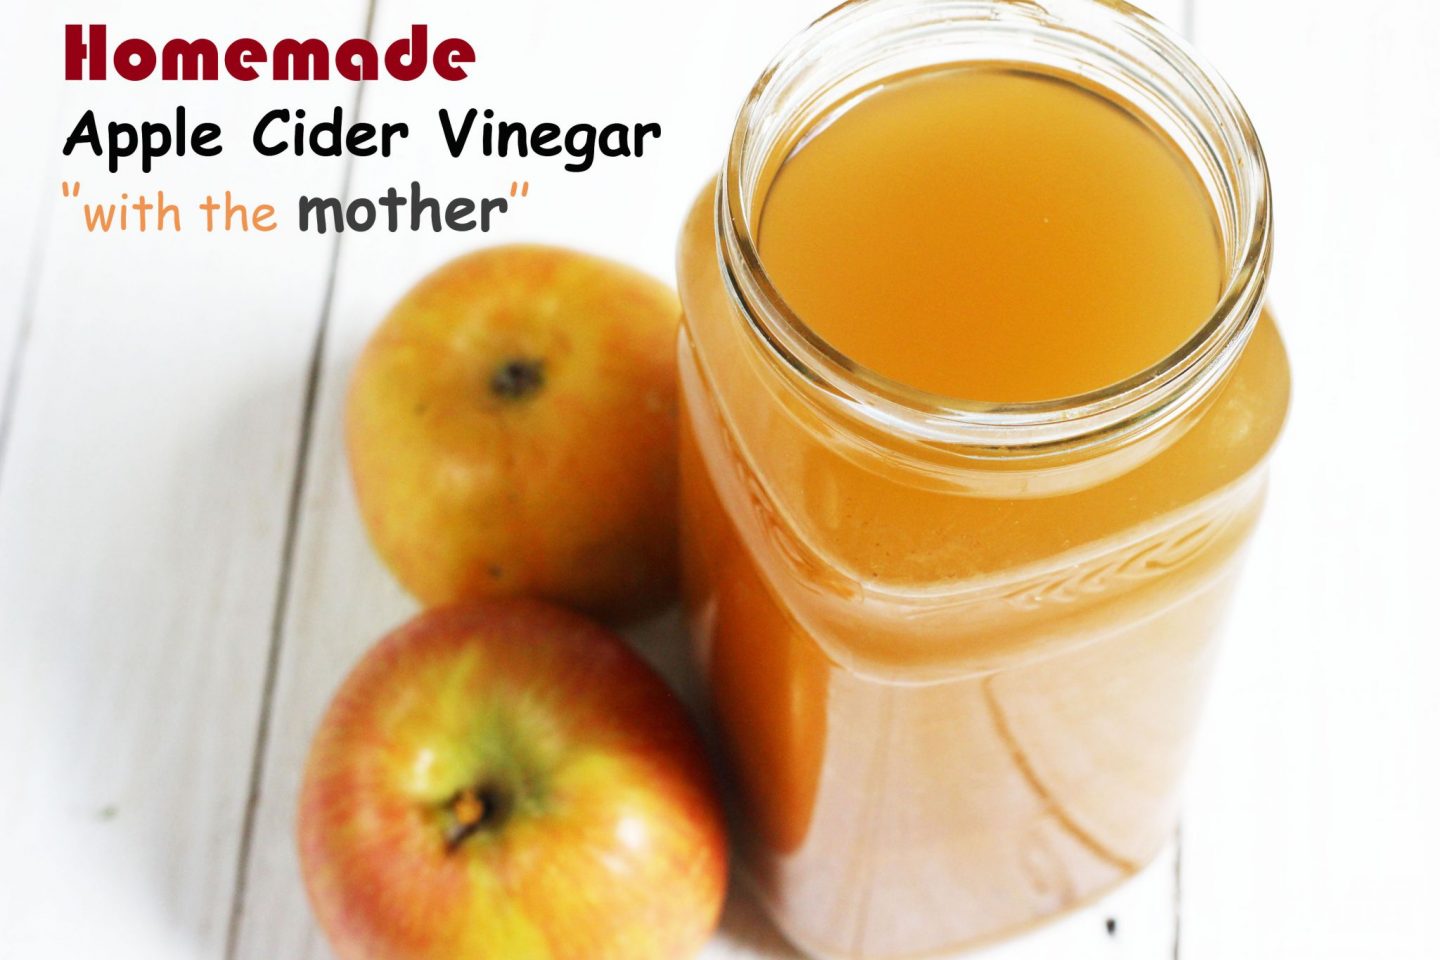
Whether it’s apple season or not, this is the right time to try your hands on some homemade apple cider vinegar.
If you are anything like me and have been enjoying the countless health and beauty benefits of apple cider vinegar(immune and energy booster, weight loss, shiny hair, face toner, clear skin and the lots).
You’ll agree with me that the good stuff; that’s the raw unpasteurized, unfiltered organic apple cider vinegar ”with the mother”, could be expensive, most especially if you take it on a daily basis, like I do.
♥MUST READ: Health and Beauty benefits of Apple cider vinegar : Benefits of drinking apple cider vinegar
In my part of the world, the stores only stock up on the filtered and pastuerized vinegar, which I only use for cleaning and preservation purposes.
To get the unfiltered apple cider vinegar we tend to buy from Amazon international, and when the high shipping cost is added, an everyday apple cider vinegar becomes a luxury condiment. And that shouldn’t be the case.
So, this led me to research on how to make apple cider vinegar at home. And to my greatest surprise and excitement. I found out that, not only could apple cider vinegar be made in your kitchen and with just a few ingredients.
—CLICK TO WATCH DETAILED VIDEO BELOW–
It could also be made from either raw apple juice, whole organic apple(cores and peels included) or from only the peels, cores and scraps of any apple , after you might have made use of the edible parts
Wow! what an ingenous way to make use off apple scraps and leftovers. All these at little or no cost to you, depending on what method you choose.
And now you might be asking; with all the variety of apples, which apple is best for making Apple cider vinegar?
Personally I make use of any variety I can get my hands on, which could be a mixture of apples. And since I make most of my apple cider vinegar from apple skins and cores, after we have eaten up the apples or made my special apple cake. I usually freeze the skins and cores until I have enough for a good batch of apple cider vinegar .
But if I were to choose just one apple, I’ll go for the sweetest variety(the Gala and Fuji).
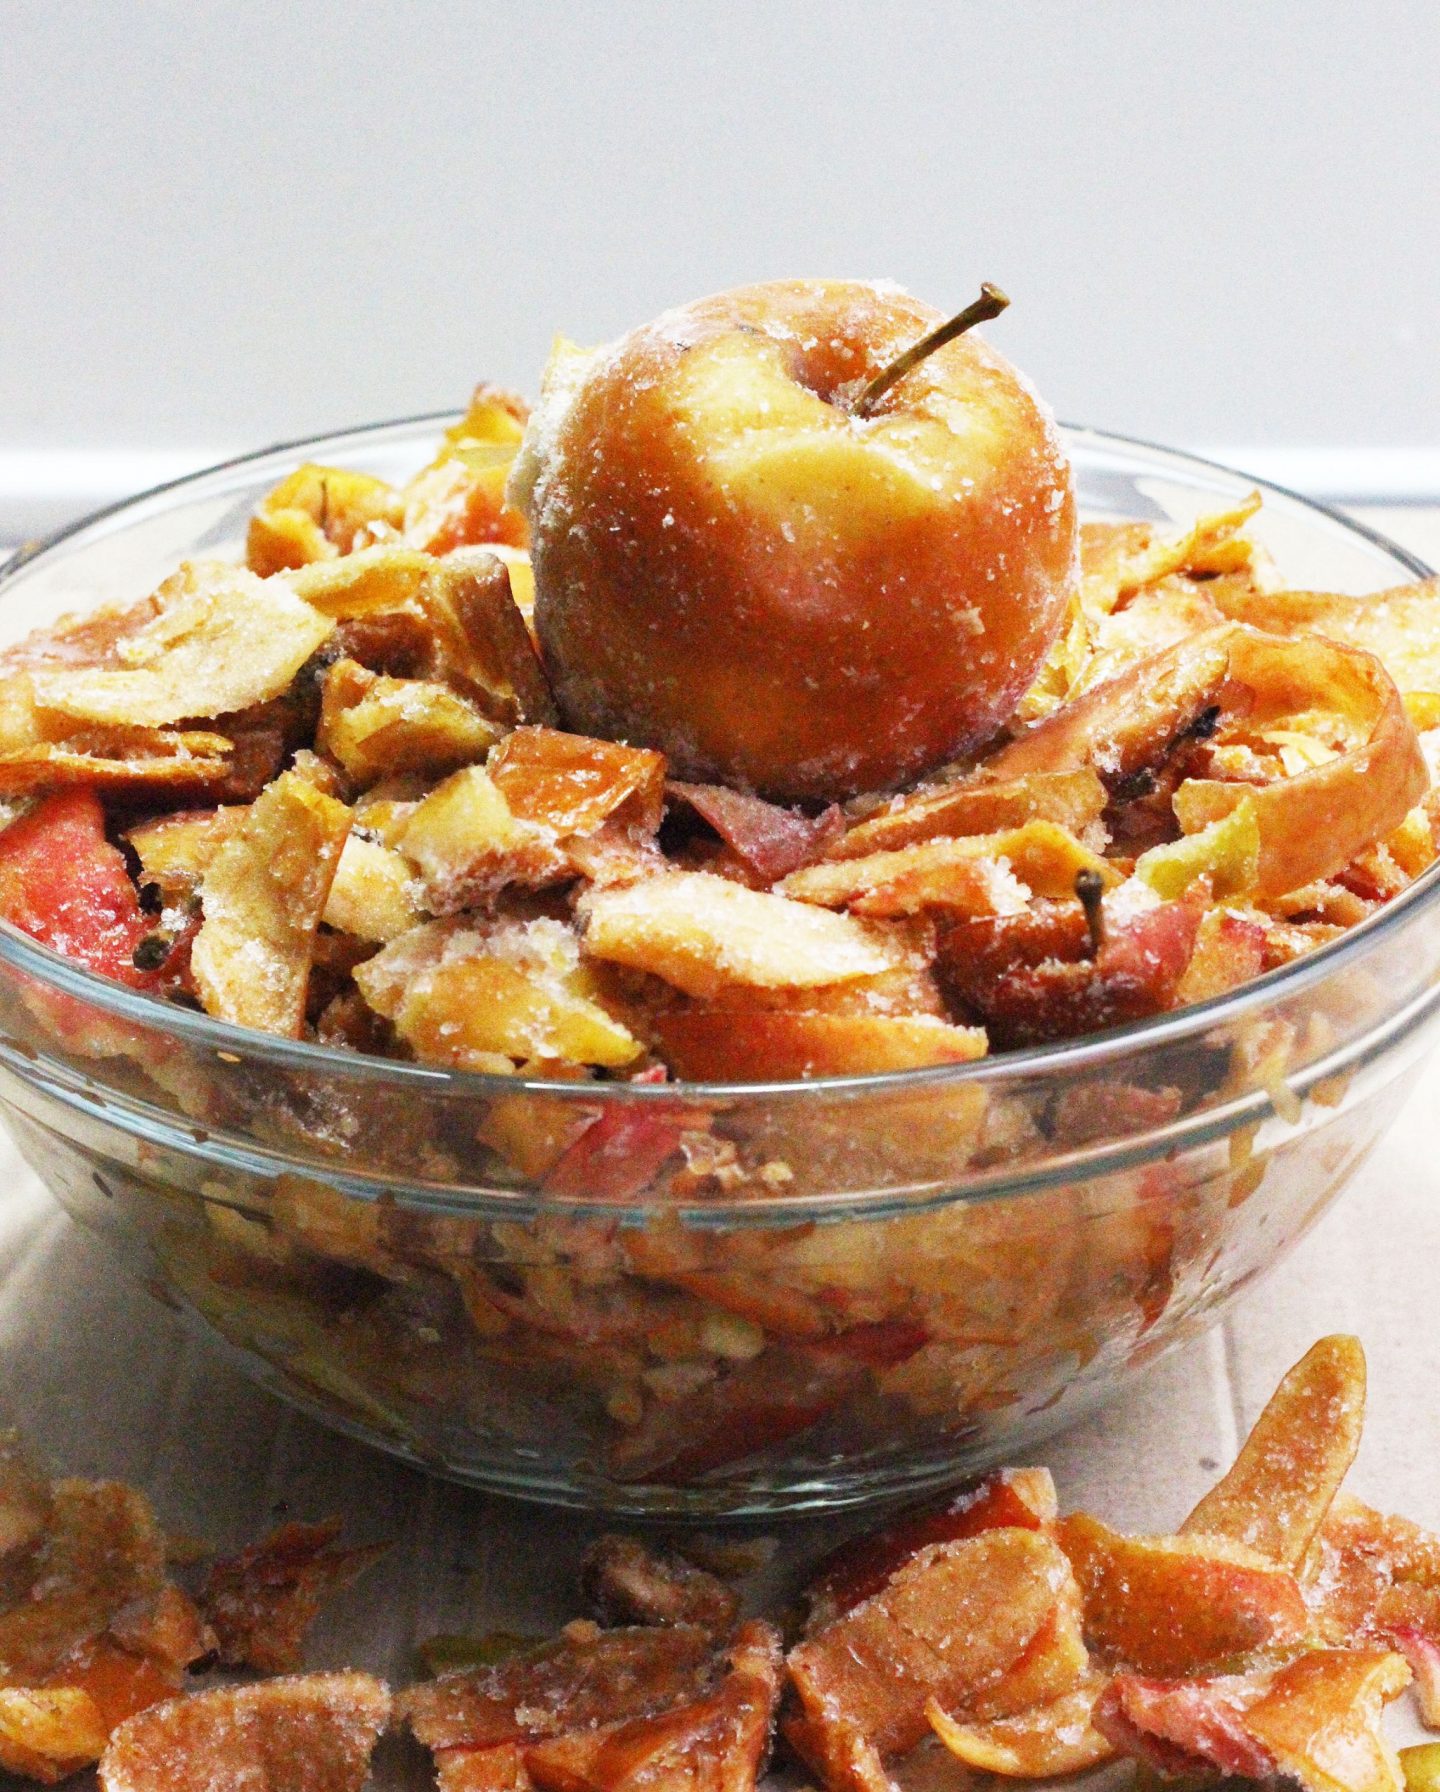
Frozen apple scraps for Apple cider vinegar
Now what’s the famous Vinegar Mother?
You may have read above that a good apple cider vinegar should contain ”the mother”. That is right, because the presence of the mother; which is made up of healthy beneficial bacteria, is what differenciates the unfiltered and unpasteurized apple cider vinegar from the distilled ones.
As pasteurization and filtering detroys all the beneficial probiotics and vitamins in the apple vinegar.
Finally on how to make apple cider vinegar;
You’ll need
– 2 apples or the skin and cores of 4 apples
( organic apples are better, but in the absense of that, you can soak your apples for 30 minutes in warm water and a tablespoonful of baking soda or simply scrub each apple with baking soda and avoid using the cores of non- organic apples, except you intend to use the vinegar for only cleaning purposes)
– Boiled or filtered water
– 2 tablespoonful Sugar or half cup raw honey
(raw cane sugar, white or brown sugar can be used, the vinegar forming bacteria will eat up all the sugar, so don’t be worried about your sugar level increasing cos they will all dissapear
I personally don’t use honey cos the fermentation takes too long with honey, but friends of mine use raw honey and they get great results too)
MATERIALS
– A glass jar with a wide opening ( don’t use metal or stainless steel of any kind )
– A cheese cloth or thin cotton cloth or coffee filter or
– A rubber band
Procedure
1. Wash your glass jar with soap and rinse thoroughly with warm water. Make sure that there are no soap remnants . You can heat up the jar in the microwave for a few seconds to sterilize it before use.
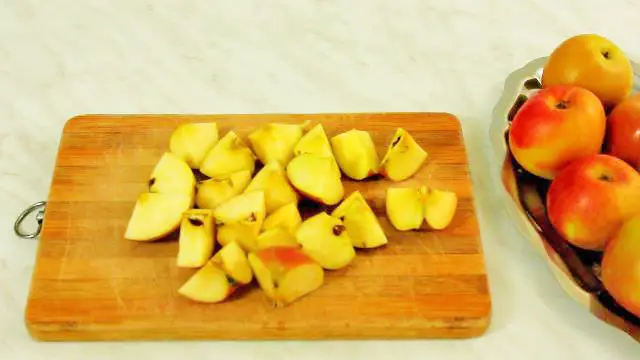
2. Wash the apples and chop into chunks or pieces. If using organic then, include the cores and any other apple scraps.
Put the chopped apples into the clean glass jar until it fills about half or quarter of the container; if using peels, it should almost fill the top of the container
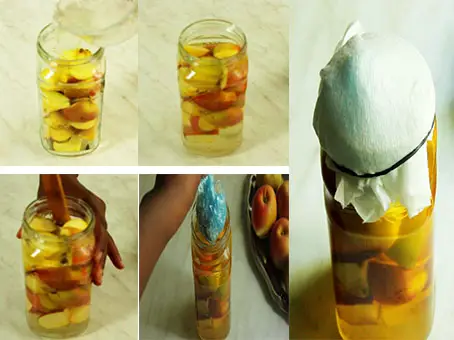
3. Now dilute or dissolve the sugar or honey with a little bit of the lukewarm water and pour it into the jar to completely cover the apples and almost filling the glass jar, but leave a little space at the top as the apples will expand after a few days.
Stir well with a plastic or wooden spoon until the sugar is well dissolved
You’ll notice that the apples are not completely immersed in the sugar water, even though the jar has enough water. I normally don’t bother with that, because I always observe my vinegar brewing very closely, but if you are new to this, you can place some plastic weights, tied in a food safe plastic wrap and place it on the apples to weigh them down.
4. Now cover the glass jar with a cheesecloth or any clean thin piece of cloth and secure tightly with a rubber band.
Store in a dark cupboard or preferably on the kitchen counter(so that you don’t forget it)- Leave for about 7 to 14 days, stirring once a day or every other day.
Note that on the 3rd or 5th day, you’ll begin to see some bubbles, which is a good sign of fermentation and the smell will also change and begin to smell more like sweet alcohol.
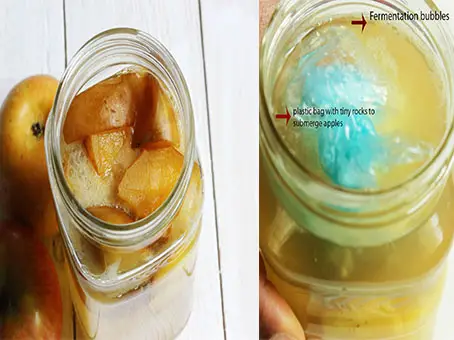
5. After about 14 days the apples or the apple scraps would have sunk to the bottom of the jar and you may also notice a white thin film at the top of the jar( this white film is the beginning of the ”mother formation”)
At the stage, what you have is hard cider and not yet vinegar.
Strain out the apples pieces and pour the hard apple cider back into the glass jar. If you like, you can make use of a fresh glass jar and cover again with the same piece of cloth and rubber band.
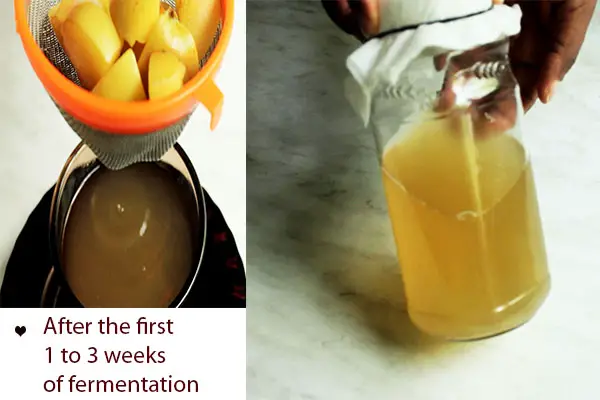
Now leave undisturbed in a cupboard or anywhere it won’t be bothered for another 4-12 weeks –
On the 4th week , the hard cider would have been converted to apple cider vinegar, but might not have as much acidity as the good store bought ones.
But at 12 weeks, you’ll notice that new ”mothers” would have formed and thickened at the top or fallen at the bottom of the jar.
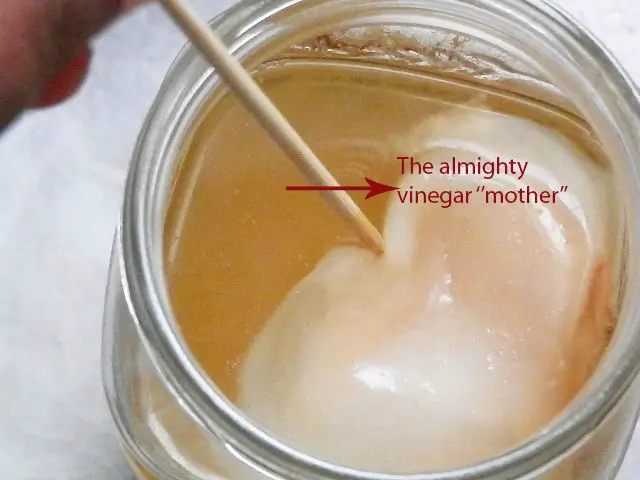
You’ll also notice that the level of the vinegar would have reduced by 1cm and also that the apple cider vinegar tastes more like the popular braggs apple cider vinegar or much better.
So now how do I use my DIY Apple cider vinegar?
Stir well until well combined and use as desired. If your vinegar has large chunks of ”mother” you can leave it to settle down a bit and decant it into another clean jar, leaving behind the bulky mother in the other jar, This leftover can be used as a starter for your next vinegar.
Now you have your own homemade apple cider vinegar to be used anywhere and anytime for your health, beauty and basic needs.
Note: To make your next Apple cider vinegar, instead of starting from scratch, simply reserve some of this first batch(containing the mother) and add to your next batch after straining the liquid-
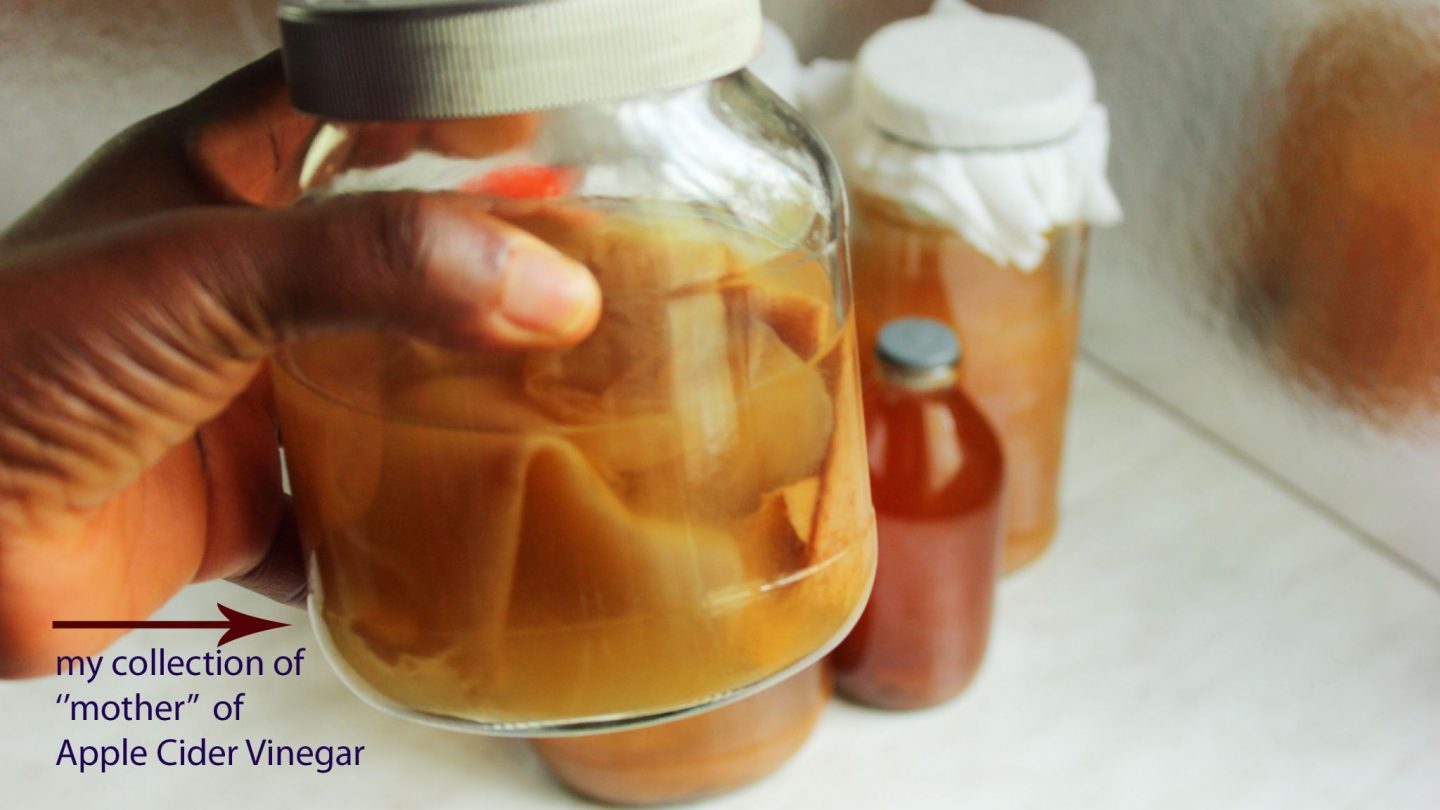
Apple cider vinegar can be stored in tightly sealed bottles or jars and also refigerated.
Here are a few I have just finished brewing and aging.
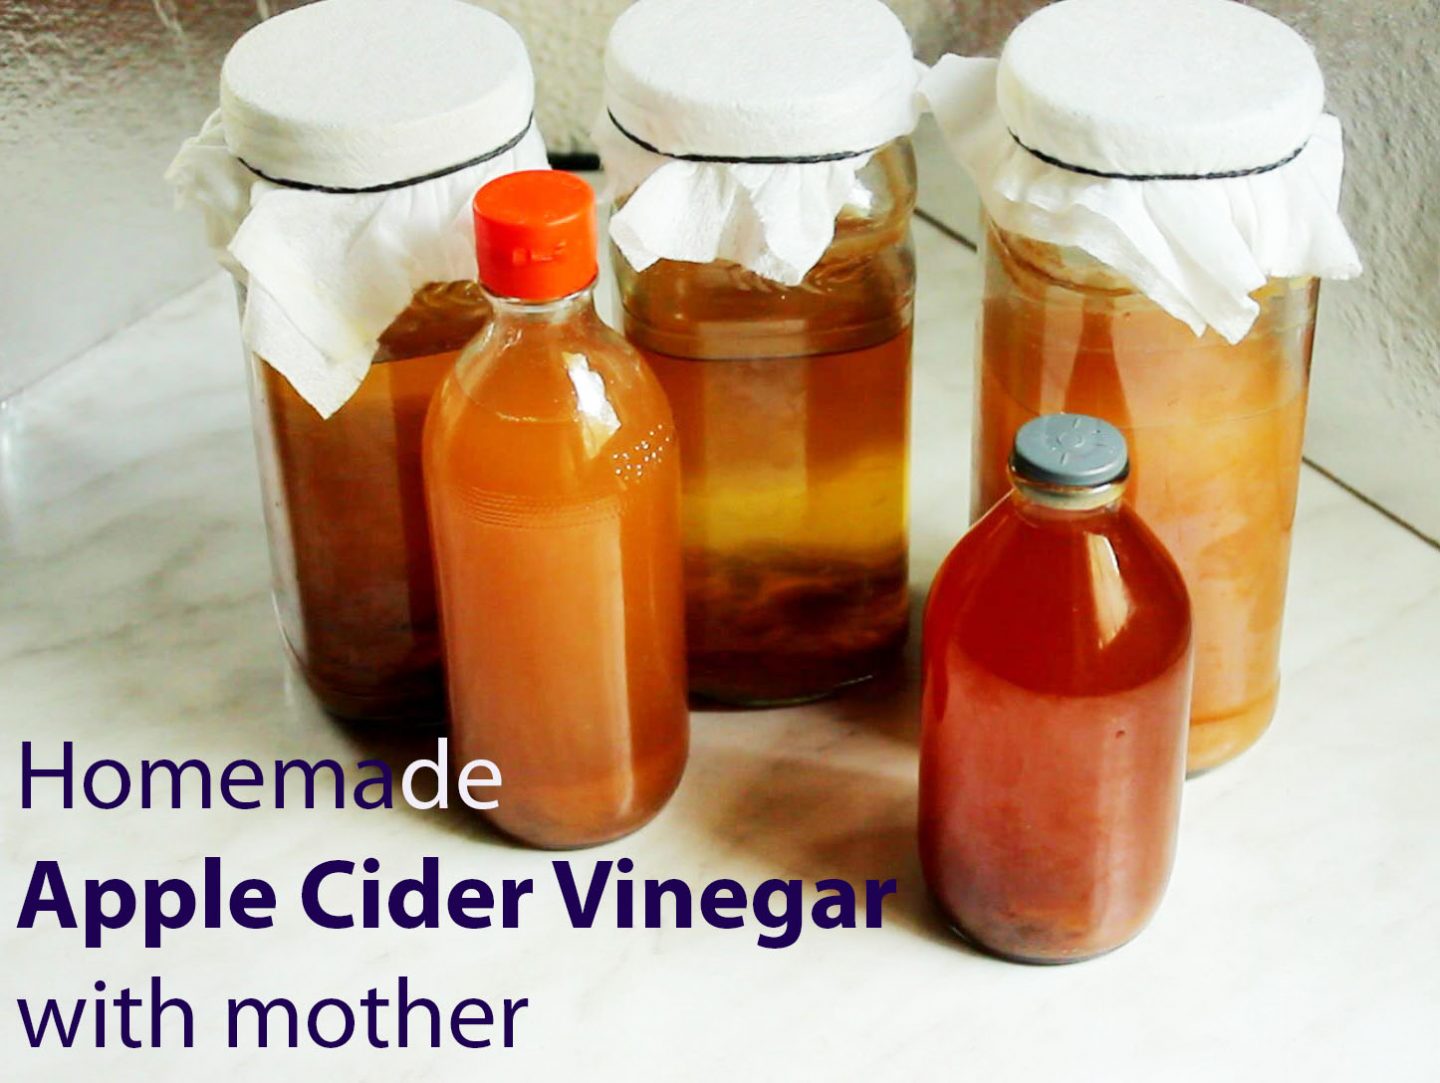
So what are you waiting for? Get brewing and drop me a line in the comment section below. I will be so glad to help you out.

How to make Apple Cider Vinegar at home- raw unpasteurized unfiltered
You can make Apple Cider Vinegar at home- raw unpasteurized unfiltered
best recipe ever.
Materials
- 2 apples or the skin and cores of 4 apples
- Boiled or filtered water
- 2 tablespoonful Sugar or half cup raw honey
Tools
- A glass jar with a wide opening ( don’t use metal or stainless steel of any kind )
- A cheese cloth or thin cotton cloth or coffee filter or
- A rubber band
Instructions
1. Wash your glass jar with soap and rinse thoroughly with warm water. Make sure that there are no soap remnants . You can heat up the jar in the microwave for a few seconds to sterilize it before use.
2. Wash the apples and chop into chunks or pieces. If using organic then, include the cores and any other apple scraps.Put the chopped apples into the clean glass jar until it fills about half or quarter of the container; if using peels, it should almost fill the top of the container
3. Now dilute or dissolve the sugar or honey with a little bit of the lukewarm water and pour it into the jar to completely cover the apples and almost filling the glass jar, but leave a little space at the top as the apples will expand after a few days.Stir well with a plastic or wooden spoon until the sugar is well dissolved
4. Cover the glass jar with a cheesecloth or any clean thin piece of cloth and secure tightly with a rubber band.Store in a dark cupboard or preferably on the kitchen counter(so that you don’t forget it)- Leave for about 7 to 14 days, stirring once a day or every other day.
5. After about 14 days the apples or the apple scraps would have sunk to the bottom of the jar and you may also notice a white thin film at the top of the jar( this white film is the beginning of the ”mother formation”)
Strain out the apples pieces and pour the hard apple cider back into the glass jar and cover again with the same piece of cloth and rubber band.
Now leave undisturbed in a cupboard or anywhere it won’t be bothered for another 4-12 weeks –
6. After 4 weeks you will have your own apple cider vinegar, but if you leave it for longer, you will have a very concentrated ACV , which is far better than any store bought apple cider vinegar.
Notes
* Organic apples are better, but in the absense of that, you can soak your apples for 30 minutes in warm water and a tablespoonful of baking soda or simply scrub each apple with baking soda and avoid using the cores of non- organic apples, except you intend to use the vinegar for only cleaning purposes)
*Raw cane sugar, white or brown sugar can be used, the vinegar forming bacteria will eat up all the sugar, so don’t be worried about your sugar level increasing cos they will all dissapearI personally don’t use honey cos the fermentation takes too long with honey, but friends of mine use raw honey and they get great results too)
* During fermentation ,you’ll notice that the apples are not completely immersed in the sugar water, even though the jar has enough water. I normally don’t bother with that, because I always observe my vinegar brewing very closely, but if you are new to this, you can place some plastic weights or rocks, tied in a food safe plastic wrap and place it on the apples to weigh them down.
* On the 4th week , the hard cider would have been converted to apple cider vinegar, but might not have as much acidity as the good store bought ones.But at 12 weeks, you’ll notice that new ”mothers” would have formed and thickened at the top or fallen at the bottom of the jar.

Nice article! This is such a valuable post. It would be so easy to make apple cider vinegar at home with the help of this video. Thanks a lot for sharing such a valuable post.
Author
Thanks Harvey.
Thanks for this. I use apple cider vinegar a lot; for my skin, hair and consumption. With this recipe, I hope to make mine.
But the problem is, how do I know if the apples here in Nigeria are organic and not GMO?
Author
You are welcome Chi, unfortunately
most of the apples in Nigeria are not organic
but you can work with it anyway.
Simple submerge the apples in a baking soda solution
for 12 to 15 minutes before use and don’t add the apple cores or seeds
when making your apple cider vinegar.
Thanks for your response.
Please, how do I jumpstart another batch of acv using the mother? Do I just put the mother in a jar of just apples and water without sugar? What do you mean when you say we won’t have to strtfrom the scratch?
Also, do we throw the uncultured apples away or can they be used again instead of buying new apples? If they can be used again, for how many batches?
For how long can we save the mother? Infinity? Must we save it with some acv in it?
Thanks
Author
Hi Chii,
you will repeat the whole process and add the sugar too
but after 3 to 5days when then bubbles start to form
you can add the mother your have into it.
The mother will make the whole process faster and instead of waiting
for 4 to 12 weeks you only wait for half the time.
Sometimes I leave the apples in for up to a month , but I finally discard it
and can’t reuse it .
As to how long to keep the mothers, almost infinity😀
I have mine for almost 3 yrs and immersed in vinegar
and keep adding more mothers to the container.
and stored air-tight.
Oh wow!
Thank you so much, Nky
Author
You are welcome Chii😊
I’ve been making ACV but I’ve not really seen the mother. I don’t know what I’m not doing right.
Author
Hi Makebi, it happened to me the first time
and I almost gave up.
But I can tell you from experience that as long
as you followed the right process and it smells like vinegar,
there is surely a strain of ”mother” in there.
Just mix well and use it to start another batch and you’ll be surprised
at the mother you’ll get the next time.
Good luck and keep me updated.
Wow, tnx so much sis. I’m gonna try tis n get back to u soon. GOD bless n prosper u richly woh
Author
It’s my pleasure Bibby and I will be expecting your feedback
God bless you too.